
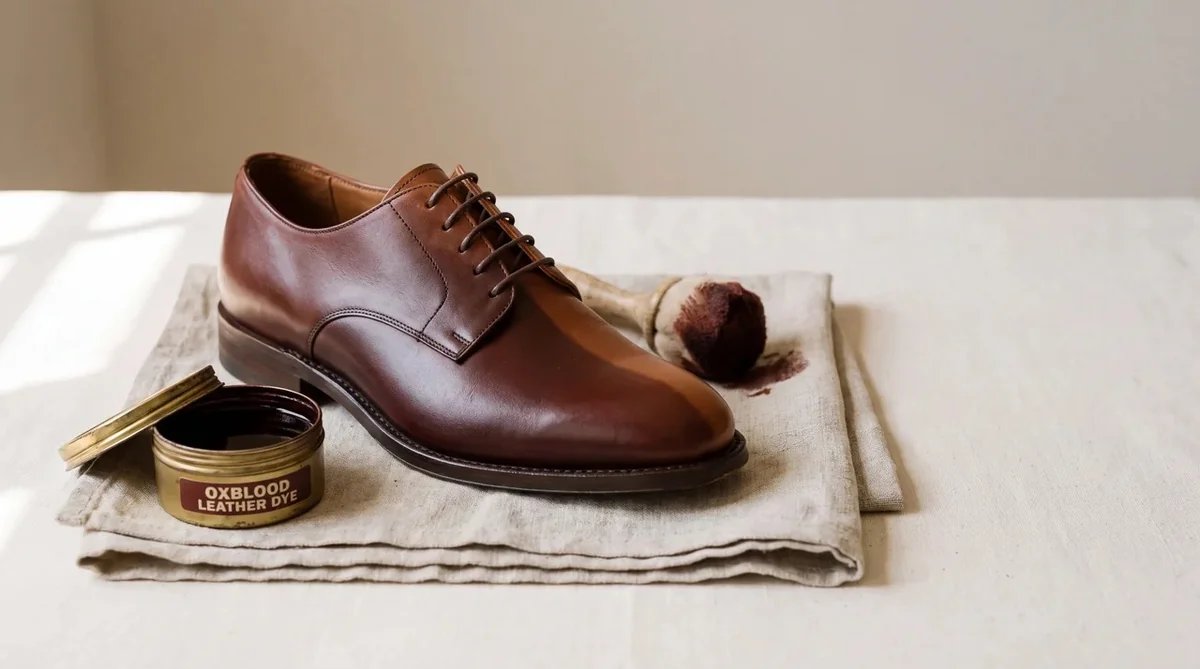
Dyeing leather shoes is one of the more satisfying things you can do to a tired pair at home, and one of the easiest to get wrong. Done properly, it brings faded colour back, takes a scuffed brown pair somewhere richer, or turns a shoe you had stopped wearing into one you reach for again. How to dye leather shoes comes down to two things most guides skip past: preparing the surface so the colour actually takes, and knowing what dye can and cannot do before you open the tin.
The short version. Smooth, finished leather takes dye well once its factory topcoat is removed. Dye goes darker, never lighter. And the colour is only half the job — a dyed shoe that is not sealed and conditioned will rub off on everything it touches.
What dyeing leather shoes actually does
Dye is pigment carried in a solvent that soaks into the top layer of the leather and colours it from within. That is the important distinction from paint or polish, which sit on the surface. A penetrating dye becomes part of the shoe, which is why it wears in rather than flaking off over months.
This only works on smooth, finished leathers — calfskin, full-grain, the standard material of a derby or an oxford. Suede and nubuck do not take shoe dye the same way, because their raised nap holds colour unevenly and blotches. Those materials want a renovating spray instead, which is a different process covered in restoring suede shoes. Patent leather cannot be dyed at all — the colour lives under a sealed plastic coating, as the patent leather guide explains.
Dye or paint — know which your shoes need
The two products get used interchangeably in online guides, and they are not the same.
Penetrating dye — alcohol or spirit based, from makers like Fiebing’s and Angelus — sinks in and colours the leather through. It keeps the grain and the natural sheen visible. This is what a dress shoe wants.
Acrylic leather paint sits on top as a flexible film. It covers completely, which is useful on a sneaker panel or a scuffed toe cap where you want opacity, but on a full dress shoe it can look flat and can crack where the leather flexes hard.
For most leather shoes, penetrating dye is the answer. Reserve acrylic for sneakers and for spot-covering damage rather than recolouring a whole pair.
What you need before you start
Gather everything first, because once the dye is open you will not want to stop mid-coat.
- Leather dye in your chosen colour, or a shade darker than the current one
- A deglazer or leather preparer (acetone works but is harsher)
- Cotton rags and a wool dauber or sponge for application
- A leather conditioner for afterwards
- A finish or sealer such as Resolene
- Gloves, and old newspaper or a drop cloth — dye stains everything
Work in a ventilated room. Remove the laces. Stuff the shoes with paper to hold their shape and keep dye off the lining.
Clean and strip the finish first
This is the step people skip, and skipping it is why home dye jobs blotch.
Clean the shoes thoroughly and let them dry. Then wipe the whole surface with deglazer on a rag, working in small circular passes. You are removing the factory topcoat — the wax or acrylic layer that makes new leather look finished and that also blocks dye from penetrating. The leather will look flatter and more matte once the coat is off. That dull surface is exactly what you want.
Go gently around the welt and stitching. Deglazer strips colour from thread as readily as from leather, and once a light stitch has picked up dark dye there is no taking it back.
Applying the dye — thin coats win
Thin and even beats thick and fast, every time.
Load the dauber lightly and work in small circles, then even the colour out with straight passes in one direction. Cover the whole shoe before the first coat dries, so you do not leave a hard line where a wet edge met a dry one. The first coat will look patchy. That is normal.
Let it dry, then assess. Most pairs need two or three thin coats to reach an even, saturated colour. Build the depth gradually rather than trying to reach the final shade in one heavy pass — heavy dye pools in the creases and around the eyelets and dries darker there. Between coats, a light buff with a clean cloth lifts any surface pigment that has not bonded.
Sealing and conditioning — the colour is only half the job
A dyed shoe is not a finished shoe. Alcohol-based dyes are drying by nature; they carry pigment in on a solvent that pulls moisture out of the leather as it evaporates. Left there, the leather stiffens and, in time, cracks.
So two steps close the job. First, seal the colour with a finish such as Resolene, applied in a thin diluted coat, which locks the pigment down and stops it transferring. Then condition the leather to put back the suppleness the dye stripped out. The full method is in conditioning leather.
A word on what you condition with. Most of what is sold in the drugstore aisle as leather conditioner is closer to a polish — silicone that seals the surface rather than feeding it, waxes that build up and crack. Real conditioning uses lanolin or a correctly balanced treatment suited to the leather. On a freshly dyed shoe, which has just been through a solvent, that difference matters more than usual.
Going darker is straightforward; going lighter is not
Here is the honest limit, stated plainly because most guides bury it.
You can take a leather shoe darker with ease. Brown to oxblood, oxblood to black, faded black back to true black — all of these are dependable home projects. What you cannot do is make leather lighter by dyeing it, because dye only ever adds pigment. Taking a dark shoe pale means chemically stripping the existing colour first, and on finished footwear that comes out uneven far more often than it comes out clean.
If the goal is lighter, that is a professional job or a reconsidered plan. Selling a home dye kit as capable of any colour transformation is the footwear version of the icy-sole promise — the chemistry does not deliver what the marketing suggests, and the honest answer up front saves a ruined pair.
The mistakes we see most
A recurring pattern in the workshop: a pair arrives already dyed at home, and the problem now is not the original wear but the attempt to cover it. Colour sitting on top of an unstripped finish, flaking at the flex point. Dark dye bled into pale stitching. A shoe that marks the wearer’s socks because nothing sealed the pigment.
Nobody should feel bad about this — everyone tries it themselves first, and on a sturdy everyday pair it is a reasonable thing to attempt. It only means the work takes longer, because there is a step before the restoration begins: undoing what was done. Scuffing, by the way, is the thing most people are actually trying to solve when they reach for dye, and removing scuff marks from shoes often solves it without recolouring at all.
Which shoes are worth dyeing at home
The calculation is simple enough. A robust, replaceable everyday pair is a fair place to learn — the downside is limited and the practice is real. A pair with real value, thin or delicate leather, or a colour change that means going lighter, is where the margin for a good outcome narrows.
There is also the difference between a repair and a restoration worth keeping in mind. Recolouring hides a symptom. It does not address dried-out leather, a loose sole, or a heel worn past its edge. A restoration reads the whole shoe — what to preserve, what to bring back, what the material needs under the colour — and finishes somewhere sound rather than merely somewhere darker.
What Fixano restores
Fixano restores shoes, sneakers, boots, handbags and leather goods across Los Angeles and Orange County — over 500 pieces to date. Colour restoration and re-dyeing on finished leather is regular intake through the shoe restoration service, where the dye is matched to the original rather than taken from the nearest available tin. Deep cleans return in two to three days; full restorations in around seven, with pickup and return throughout LA and OC.
If a pair needs more than a coat of colour can give it, the Fixano app connects you with restoration specialists across Los Angeles and Orange County. Photograph the shoes in good light, get options, arrange pickup — from your phone.